Skip to content

Call us on 07544005514 09:00am to 08:00pm

Heating

Step-By-Step Process To Mount A Heated Towel Rail

Step-By-Step Process To Mount A Heated Towel Rail

Esoap UK

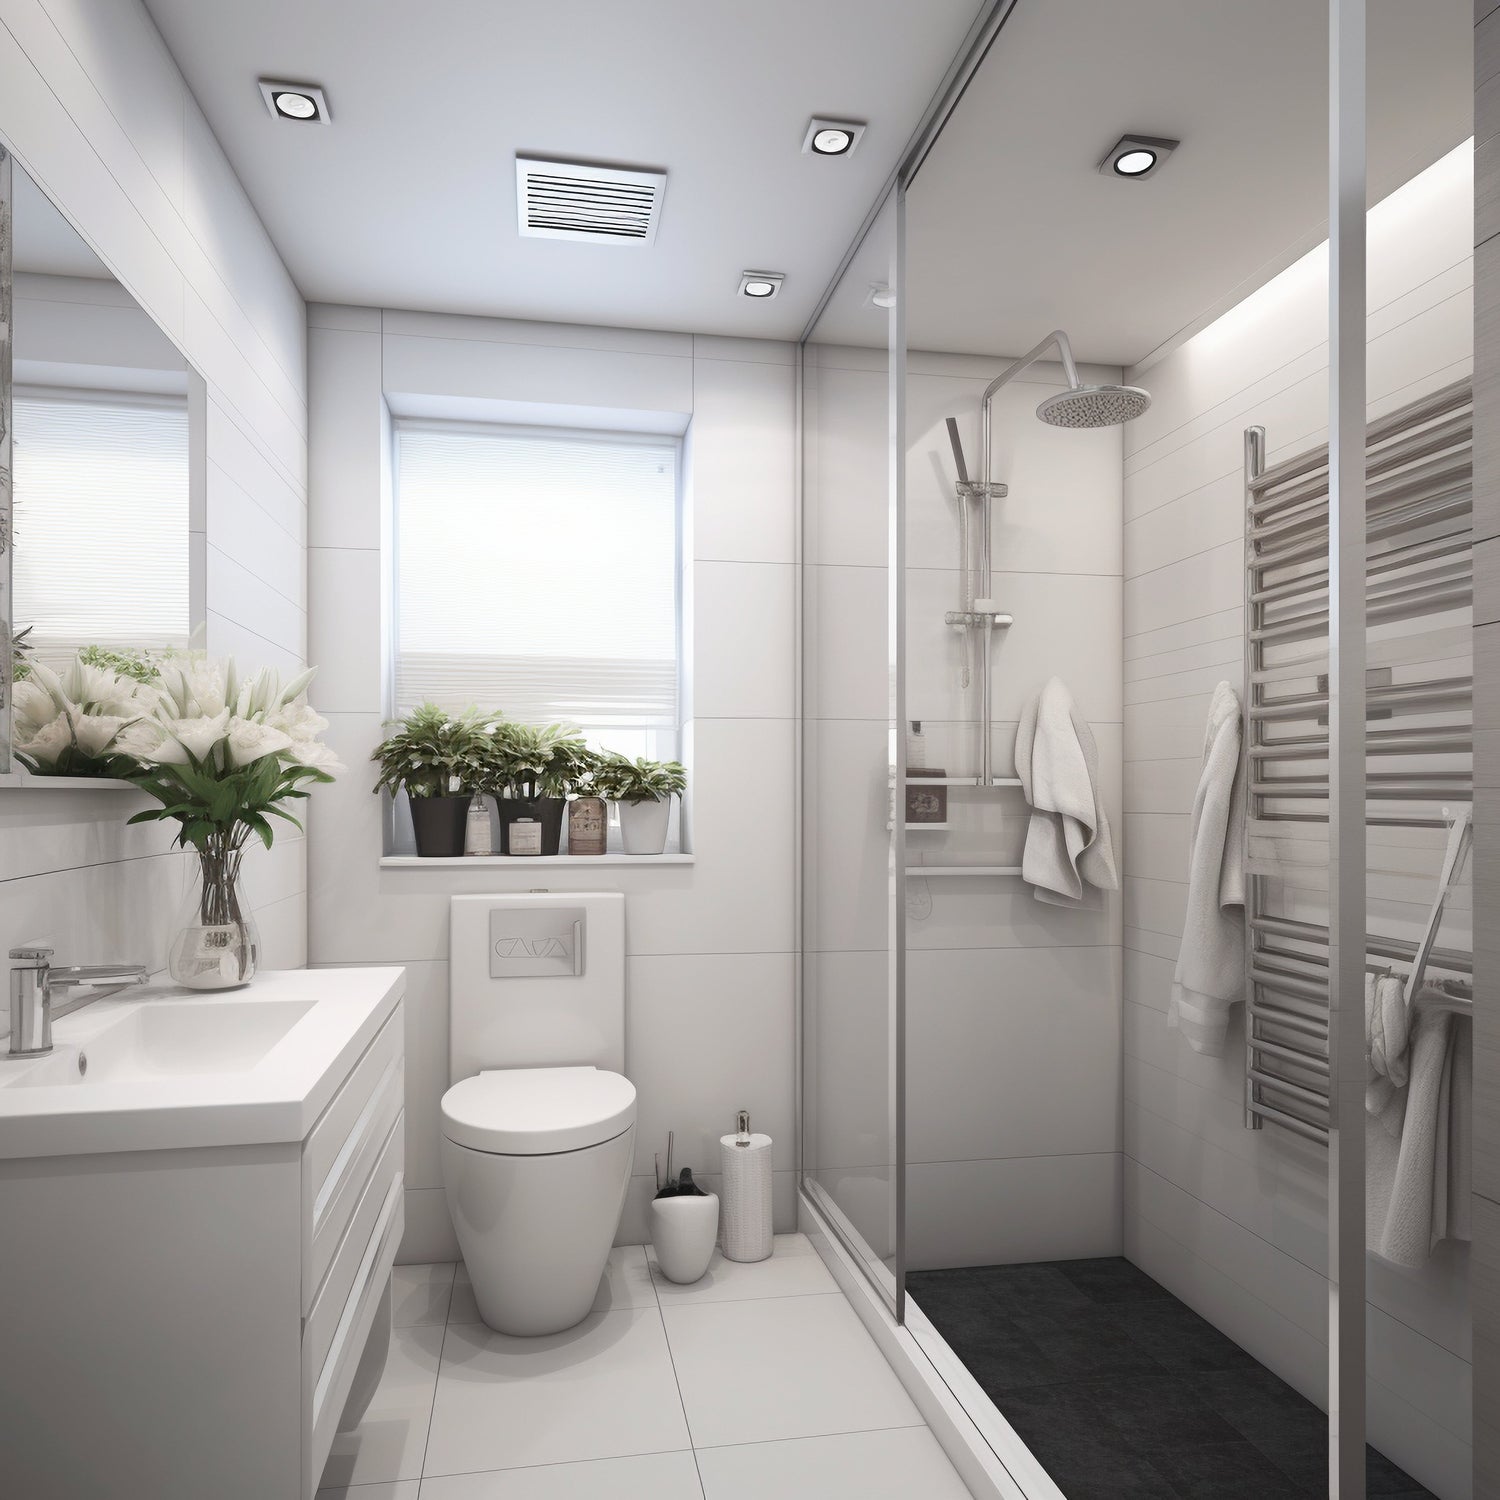
Hi readers, welcome to the Esoap blog page for the Step-by-Step Process to Mount a Heated Towel Rail. Here we solve your problem for how to install the towel rail in your bathroom with less stress, so let's started it. We have to hang the towel rail on the wall of the bathroom that we selected and which will be suitable for us. Most of the towel rails come with all accessories, so let's start with the steps to mount the heated towel rail. Step 1: Tools we need Before we start the job, let’s check the tools we need. Drill and drill bits Wall plugs and screws Brackets that come with the towel rail Tape measure Pencil Spirit level Screwdriver Step 2: Right Place The next step is to collect all the tools in one place. Then, we need to find the right location to mount the towel rail. We need to verify that the location where we are going to install the rail is Mold and damp-proof, so it will be easier for us to drill and install the roll plugs. Step 3: Measure and Mark We have to measure the size of the rail and then have to see that we have enough space on the wall where we have to mount the heated towel rail. For the towel rail we are talking about, it is the most sold towel rail in the United Kingdom, which is the Curved towel rail. Curved towel rails are very easy to install in any size bathroom.  For Example, if the size of your towel rail is 800 x 400, then we have to mark it with a pencil on the wall. Important note: if you are installing this towel rail under the window, then make sure it will be in the centre. Step 4: Drill the Holes for the towel rail So, now you've done the measuring and marking, the next step is to drill the holes to mount the towel rail. Make sure you use the masonry bit to drill in the tiles as recommended by the Esoap experts, and make sure the hammer function will be off. Step 5: Fix the Brackets Then the next step is the fix the brackets with the screw. Then make sure all the adjustments of the brackets will be accurate as per the level. Make sure they are tight and strong. The brackets hold the heated towel rail, so they must be secure. Double-check with the spirit level to make sure everything is straight. Step 6: Mount the Heated Towel Rail Now lift the heated towel rail and place it on the brackets. Make sure it fits well and is even. Tighten the brackets around the rail so it does not move. Step 7: Connect the Rail If your towel rail runs on central heating, connect it to the valves and pipes. Make sure that during connection the pipes all joints will be perfectly joined. Step 8: Test the Heated Towel Rail After fixing and connecting, it is time to test. For central heating rails, fill the system and bleed the air from the valves. For electric rails, turn on the power and check if it heats up. Touch carefully to feel the warmth. Step 9: Final Touch and Clean Up Once your towel rail is working, give the area a clean. Clean the towel rail with a clean cloth, and do not use any kind of hard chemicals to clean the surface of the towel rail. For more information or to have a skilled electrician or plumber install your towel rail, contact Esoap today.  

Read more

Heating

Welcome to our store